Tourello should be usable without a manual – still, here are the main paths, step by step. Menu names are shown like this. Where phone/iPad and Mac differ, the Mac is in brackets.
First steps: download maps
Download once, then everything works offline.
Open Tourello. As long as no map is loaded, the map shows No offline map yet – tap it. Later you find the same page under Menu → Maps (Mac: View → Manage Maps …, ⇧⌘K).
Choose a region – from the list or on the world map. The space it needs is shown next to it.
Tap Download. The download continues with the screen locked; several regions queue up.
Done: map, contours, terrain, routing and search now work offline.
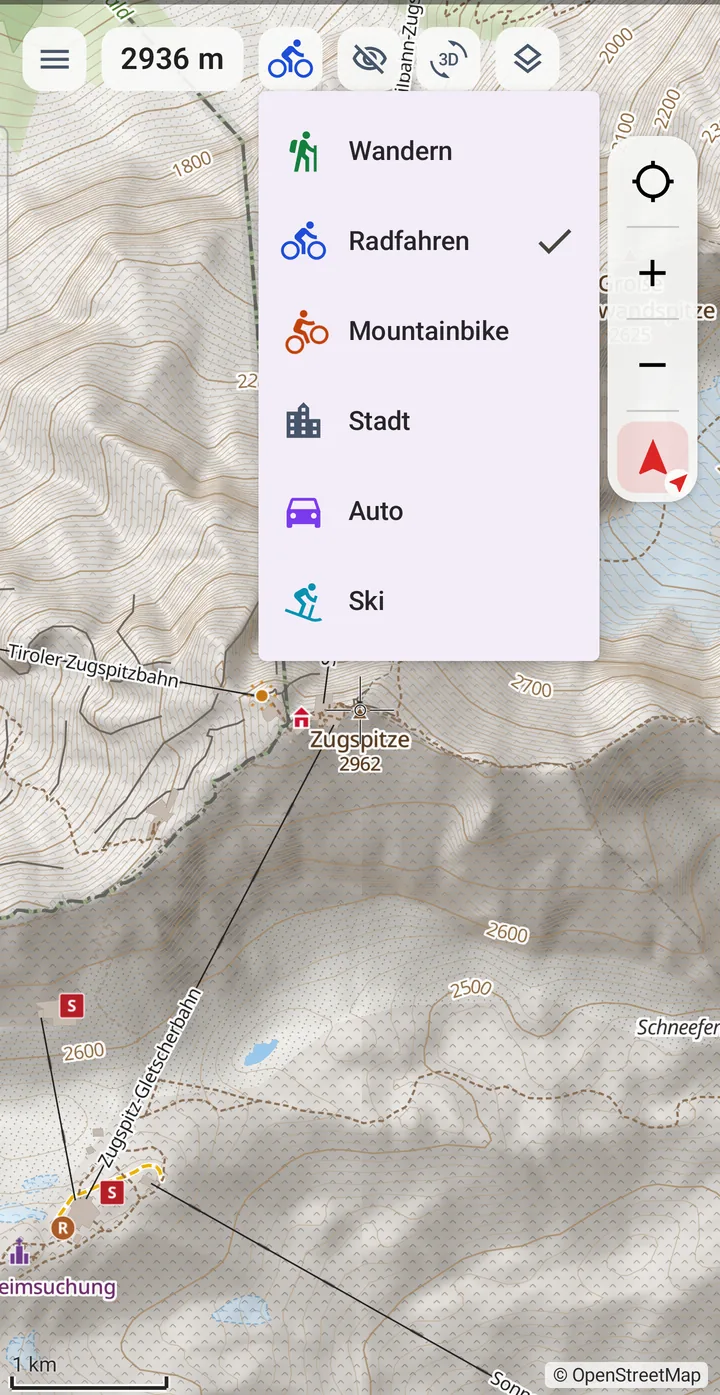
At the top left you choose the map profile – hiking, cycling, mountain bike, city, car or ski.
Later, Check for updates and Update bring the region up to date – only the changed parts of the files are downloaded, usually a fraction of the whole region.
Download large regions over Wi-Fi: the Alps take about 4 GB on the phone, Bavaria about 1.3 GB.
Plan a tour
Computed offline on the device, with walking time at your pace.
Choose the map profile – it sets the map style, routing and walking time.
Menu → Start planning (Mac: the Plan route button above the map).
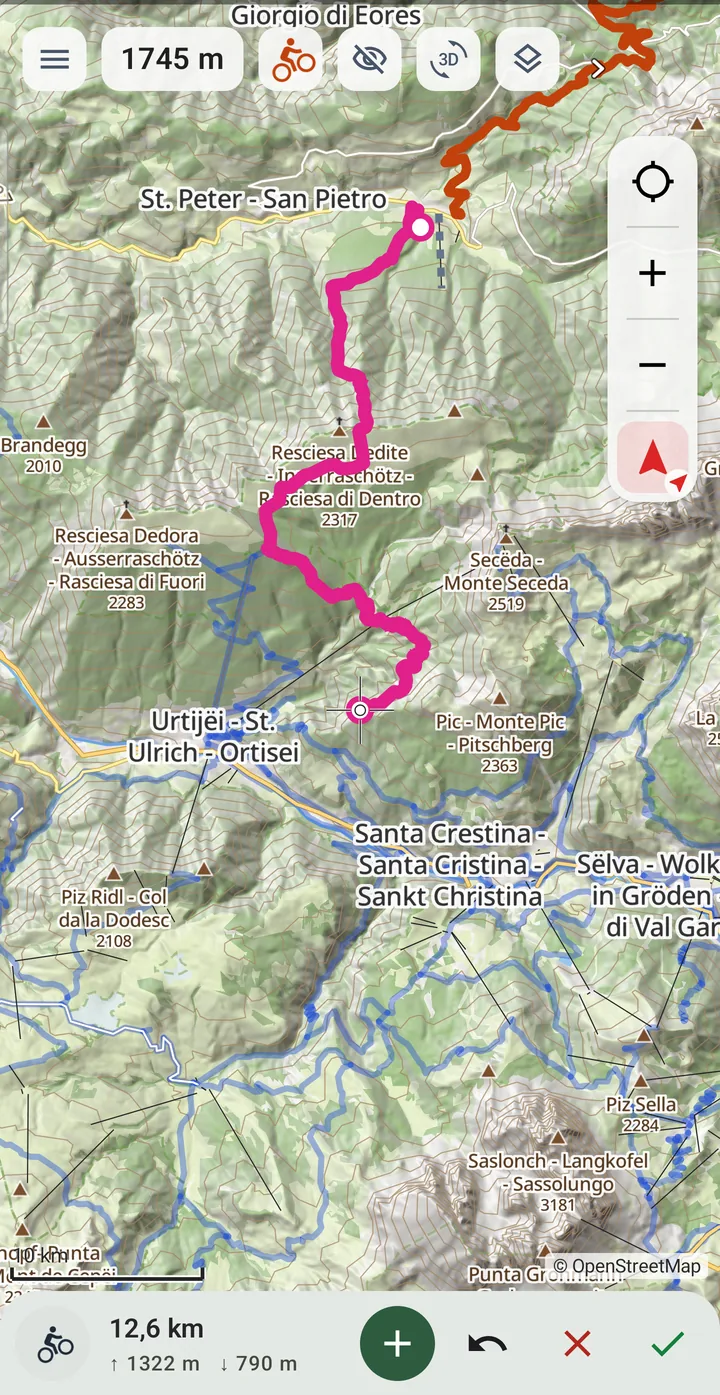
Move the map until the crosshair is on the start and tap +. On the Mac, just click the map.
Set more points – Tourello finds the way in between. If a leg is impossible, the app says why.
Move a point: long-press and drag (Mac: drag). ↶ undoes the last one.
Length, elevation gain, difficulty and walking time are shown at the bottom.
Save with the tick ✓; the ✕ discards the plan.
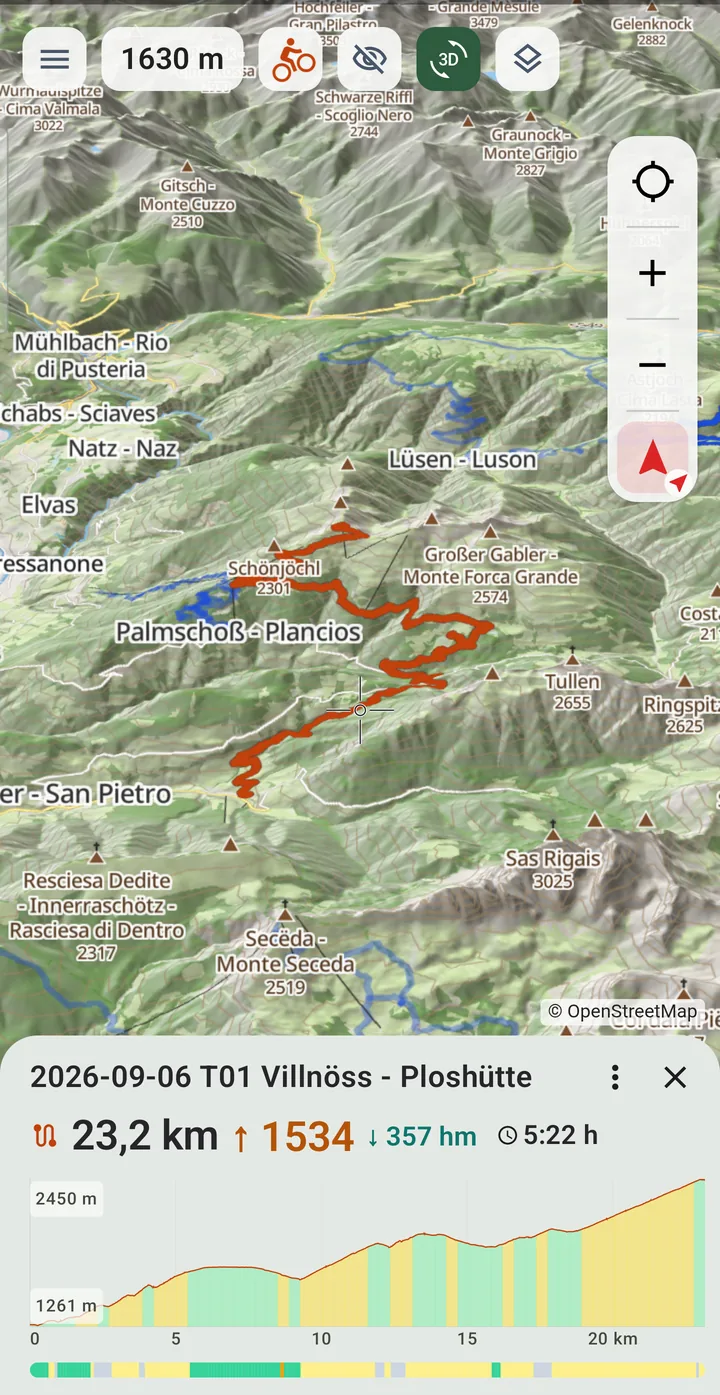
Switch to 3D and keep planning right on the terrain – setting and moving points works the same way there.
Navigation
With voice prompts, even with the screen locked. Phone and iPad.
Open a tour – from Tracks, the Archive or right after planning.
In the tour's menu (⋮) choose Start navigation.
The next turn with its distance is shown at the top, below it remaining km, elevation gain and arrival time.
Voice prompts are switched under Settings → On the move; their spacing adapts to how you travel.
Locking the screen is fine: navigation and prompts keep running, the status is on the lock screen.
Spontaneous destination: long-press the map or pick a search result, then Navigate here. If you deviate, Tourello recalculates.
Record and upload
Battery friendly, with elevation from the terrain model. Phone and iPad.
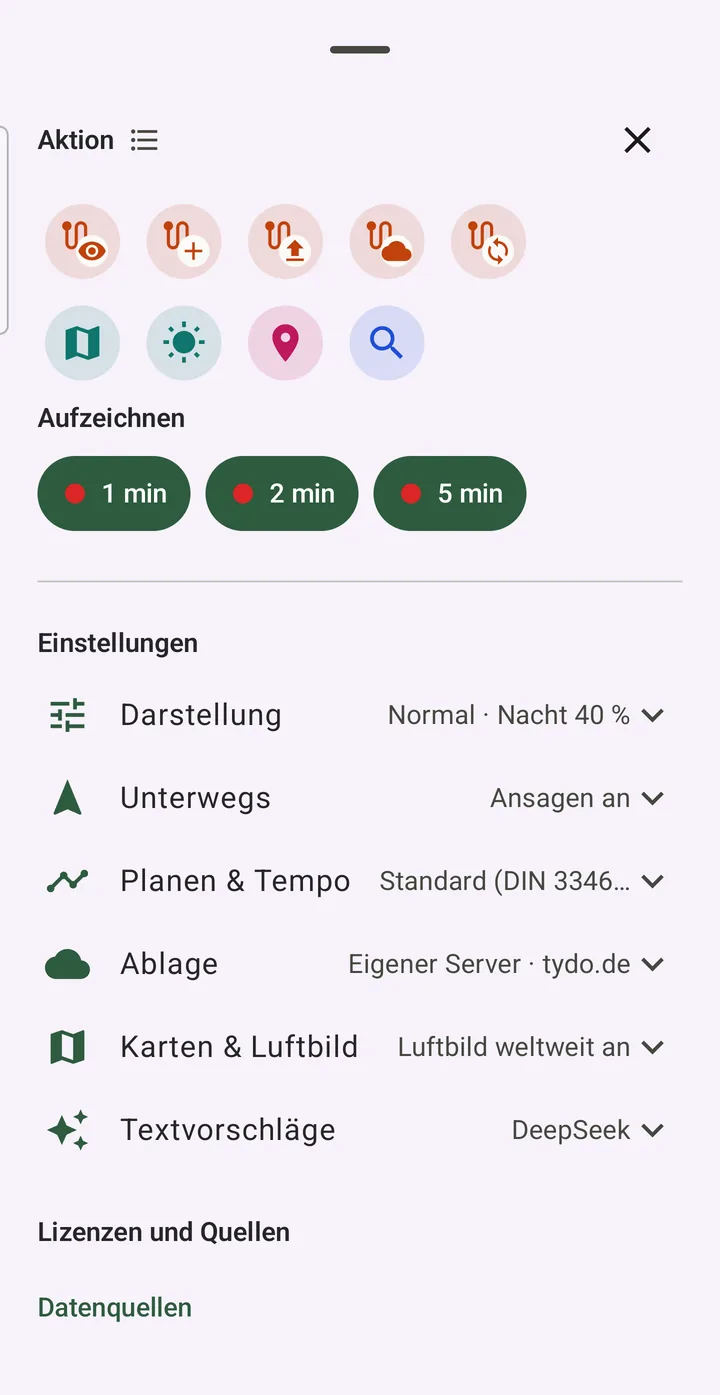
Menu → Record: 1 min, 2 min or 5 min – the point interval; recording starts immediately.
Pause and resume on the way; nothing is lost after a crash.
Stop the recording at the end.
Menu → Upload recordings (with "only on this device": Move recordings to archive).
Add name, activity, multi-day tour, description and pace profile – optionally suggested by a language model.
Optionally Fill gaps: missing pieces are completed along the paths.
Upload. Tourello reads the file back, verifies it and only then deletes the copy on the device.
Set up your storage
Your tours on your server – or only on the device.
Choose a place: Eigener Server (own server) – a WebDAV account such as Nextcloud, a NAS or a router share –, Dropbox or Google Drive (sign in once; the app only sees its own folder) or Nur auf diesem Gerät (only on this device; on the Mac in a folder of your choice, by default "Documents/Tourello").
For your own server, enter address, user and password.
Test connection – settings save themselves.
Enter the same storage on every device: phone, iPad and Mac see the same tours.
Sync your own points in the points list with Sync with storage.
With "only on this device" the data is gone when you uninstall the app – export important tours as GPX first.
3D flight and video
Your tour from the air – as a film to share.
Open a tour, then 3D flight in the tour's menu (⋮).
The flight starts above the tour; speed 1×, 2× or 4×.
Switch on aerial imagery in the layers menu. On mobile data the app first asks how much would be downloaded.
Record a video – it ends with credits for all data sources and is saved.
On the Mac also: choose a format (16:9, 9:16 Reels, 4:5 feed, 1:1) and Short video for a 10–90 second short video with the best stretches and photos.
The video texts are in the app language; on the Mac the language button in the flight (DE, EN, FR, ES, IT) picks another one.
Sun and moon
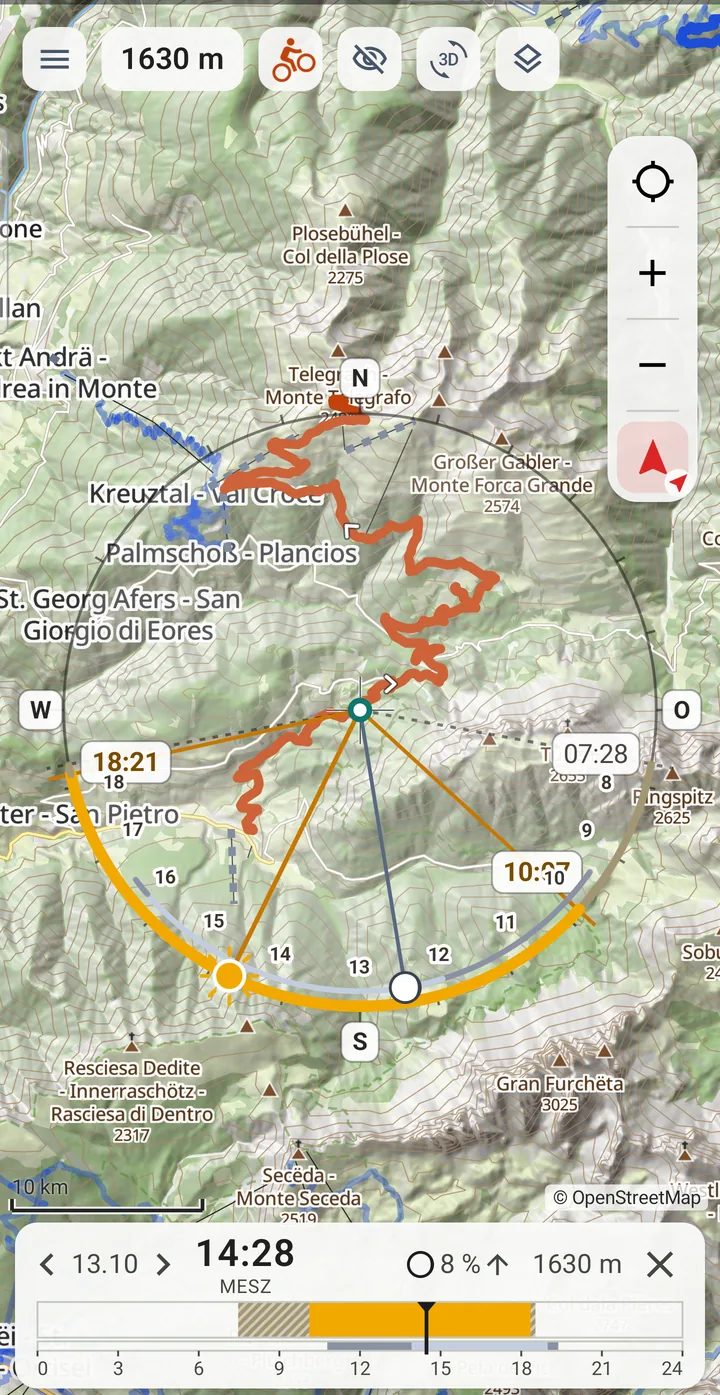
To the minute, with mountains and buildings as the horizon.
Move the map so the crosshair is on the spot you care about.
Menu → Sun and moon (Mac: the sun button above the map).
Pick a day in the calendar.
The time slider appears at the bottom: sun, twilight, night and moon across the day. ‹ › change the day.
The ring around the point shows where the sun comes from and where terrain or buildings block it.
Check the ground elevation on the right of the bar – if it matches the spot, you are computing for the right point.
Moved the map? ⟳ computes the same day for the new centre.
When should I start? Time & break planning
Start time, breaks and arrival – with sun and shade along the tour.
Open a tour and choose Time & break planning in the tour’s menu (⋮) (Mac: the first entry). On the phone and iPad this works for tours on the device, on the Mac for tours in storage.
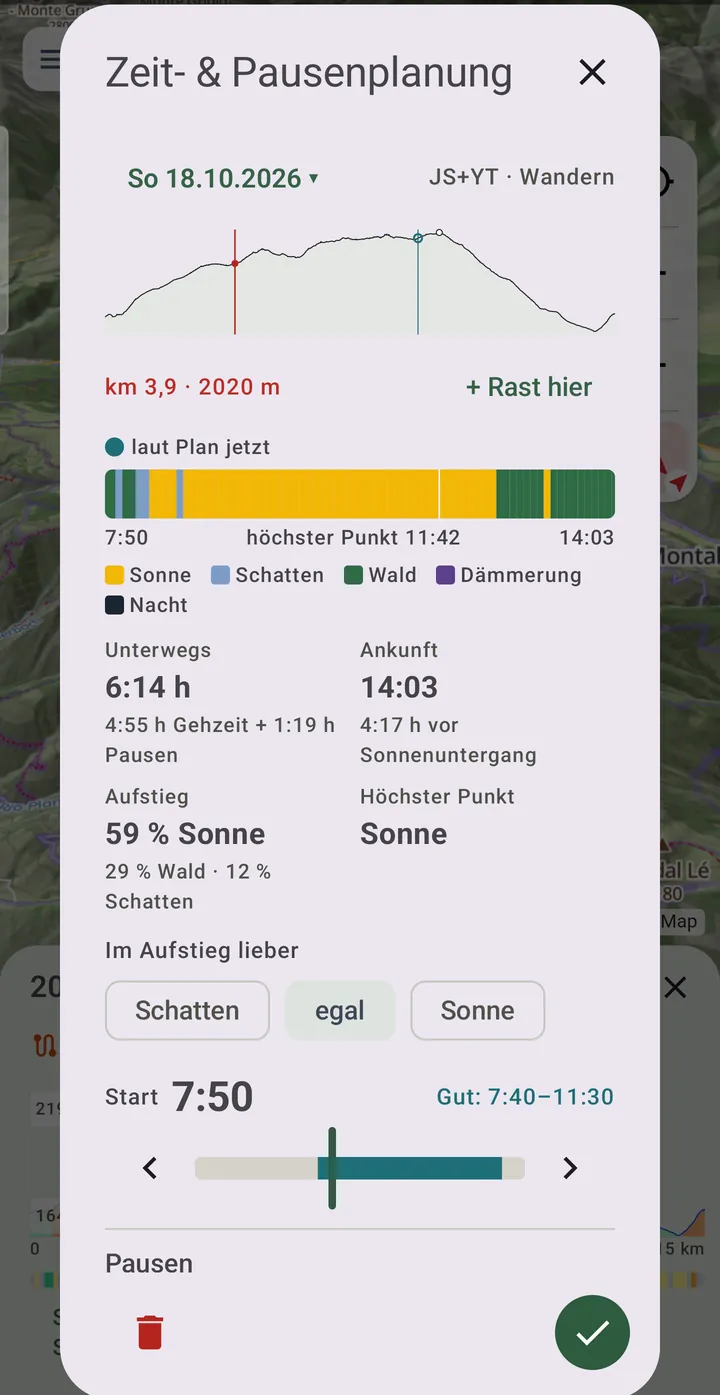
Pick the day and move the start with the slider or ‹ ›. The track under the slider rates every start from 5 to 12 o’clock: dark works, light is possible, grey means setting off in the dark or arriving too late. Next to it you see Good: ….
The band over the whole tour shows what awaits you at every point when you get there: sun, shade, forest, twilight or night. Below are walking or riding time plus breaks, the arrival and how much time is left before sunset – and under Climb how much of the climbing lies in sun, forest or shade.
Set the breaks: short breaks per hour moving – measured from your own tours after Recalculate on the pace profile – and rests with Rest at the high point or with Rest here at a point: tap the planner’s profile, or pick it beforehand in the elevation profile below the map – it then shows in red.
Shade or sun on the climb, and how much margin before sunset? Both go into the rating of the start times.
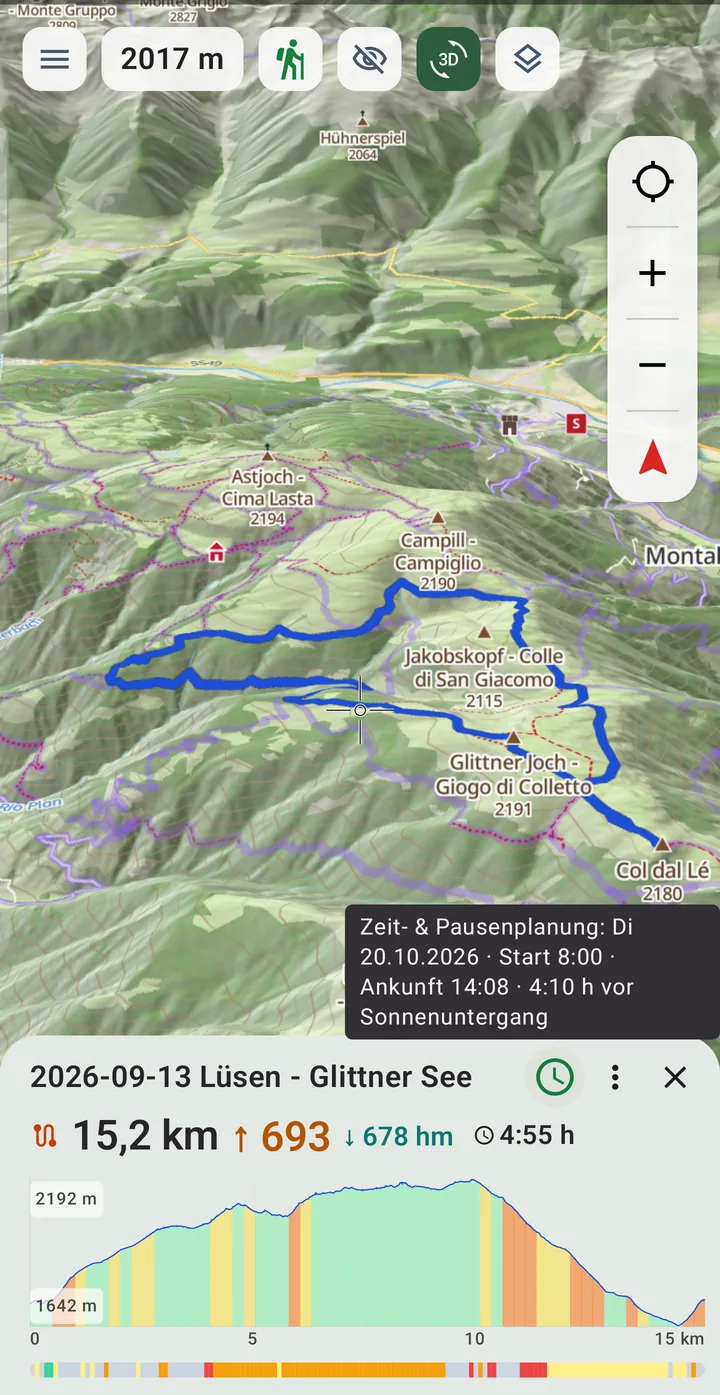
Save with the tick. The plan is stored in the tour file: planned on the Mac, the phone shows it as soon as it opens the same tour. Next to the tour’s ⋮ you then see the planning icon – green, or red when the arrival is too close to sunset. Its hint (long-press on the phone) gives day, start and arrival; tap it to open the planner again.
“Sun” means sun under a clear sky – the calculation knows no clouds. On a long tour the times can be an hour off; plan a generous margin.
Geotag photos on the Mac
Camera pictures get their position from your recording.
Open the Geotag photos tab (or File → Choose Photo Folder …, ⌘O).
Choose the folder with your pictures – RAW, JPEG and HEIC. The tiles show preview, time and whether a position is already set.
Check the camera time: Tourello suggests a time zone or clock correction if the pictures don't match the recording.
Propose position – for each picture its position, tour and how certain the match is. Nothing is written yet.
Review the selection and Write position.
Pictures without a recording: show the map and drag the tiles to the right place.
Requires the free tool exiftool (e.g. via Homebrew: brew install exiftool).
Pace profiles
Walking times at your own pace.
Menu → Settings → Planning & pace (Mac: settings → Planning & pace).
Choose one profile per activity (hiking, cycling, MTB, ski) – Standard applies out of the box.
Manage profiles → + New profile, e.g. "with kids" or "e-MTB".
Recalculate on the profile: choose a period, Tourello measures your recordings from your storage (three tours minimum, eight is better).
From now on, elevation profile, planning and navigation use your pace.
When uploading and in Tour details you assign the profile a tour was done with – later measurements get more accurate.
Ski day with lift status
Pistes downhill, lifts uphill – and around closed lifts.
Choose the Ski map profile – the map shows pistes and lifts.
Settings → Planning & pace → Planning date for lifts (ski): today or a date next winter.
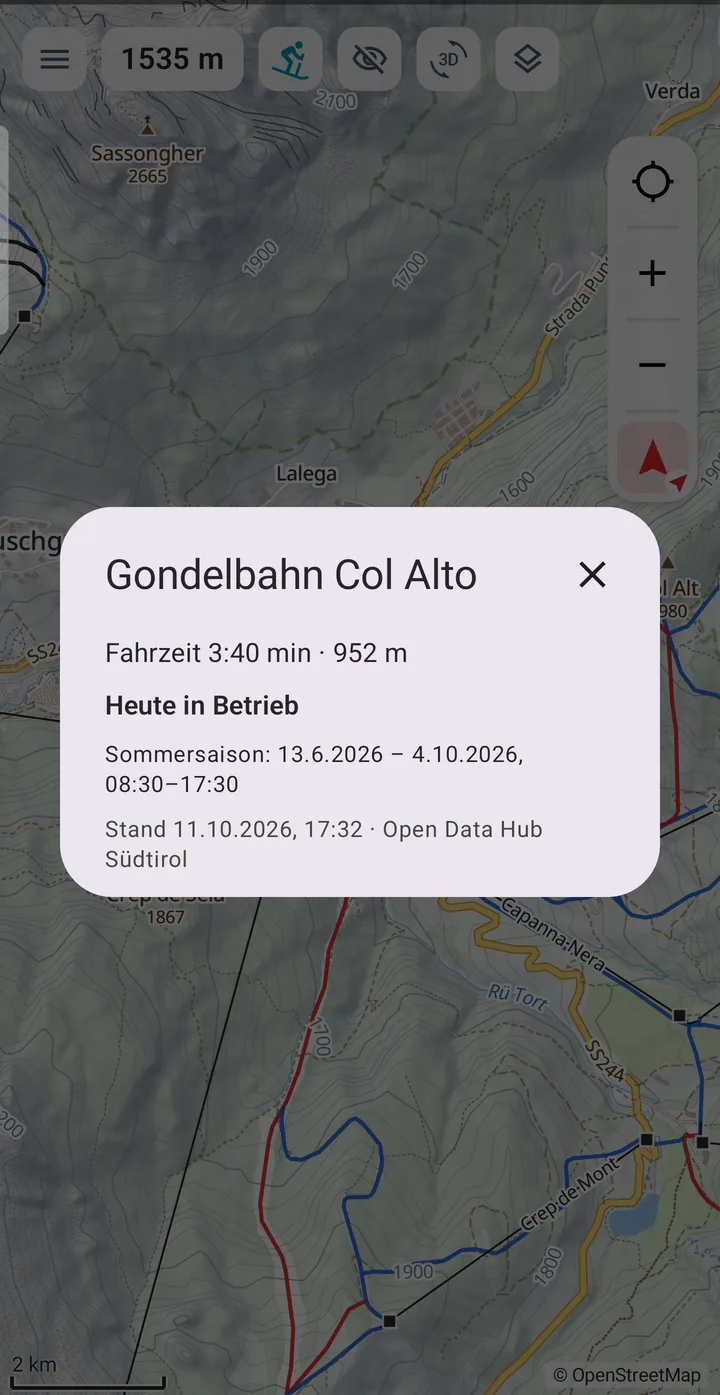
Below it, Fetch lift status (needs a connection, currently South Tyrol and the Dolomites). Closed lifts appear dashed grey.
Tap a lift: ride time, length, season and whether it runs on the chosen day. Tap a piste: number, colour, groomed, floodlit.
Start planning and set points – Tourello uses pistes only downhill and lifts only uphill, and avoids closed lifts.
For a time estimate you need your own ski pace profile from recorded ski days; without one it says "Ohne Zeit" (no time).
Legend: what the colours mean
The lines on the map, for each map profile.
Your tour on the map
In every map profile, chosen in the tour’s ⋮ menu under Colour & width: single colour, by gradient or by difficulty. The map profile decides which scale counts: the MTB scale only on two wheels, the hiking scale everywhere except by car.
By gradient
up to 8 %
8–15 %
15–25 %
over 25 %
By difficulty
easy (up to T1 / S0)
T2 / S1
T3 / S2
T4 / S3
T5 and above / S4 and above
unknown
Map profile Hiking
Colour gives the SAC grade, and the dashes get shorter as it rises. Faded paths are hard to see on the ground.
Path T1
Mountain path T2
Demanding mountain path T3
Alpine path T4
Alpine path T5–T6
Path without a grade
Track
Via ferrata, grade beside it
Marked hiking route (violet band)
Map profile Cycling
Colour shows how well it rides on a city or touring bike. Solid is paved, dashed is unpaved. Faded means no bikes, or a footpath.
Very good, paved
Good, firm gravel
Bumpy, fine on a touring bike
Bad
Mountain bike only
Condition unknown
Signed cycle route (blue band)
Map profile MTB
The same ways as Cycling, plus all paths. Colour is the MTB grade; without one, how rideable it is on a mountain bike, and a T3 path counts as S2. Faded means not a way for this map: footpath, no bikes, or T4 and above with no MTB grade.
S0 or easily rideable
S1
S2 (also T3)
S3
S4 and above
Not graded
Not a way for this map
Signed route (blue band)
Map profile Ski
Pistes in the colours of piste maps. Tap a piste or lift for details.
Beginner (green)
Easy (blue)
Intermediate (red)
Advanced (black)
Freeride
Cross-country trail
Ski tour
Toboggan run, winter path, snow park
Lift
Drag lift
Lift closed (with lift status)
Map profiles City and Car
Ways have no difficulty colours here; paths stay thin and faint in the background.